Inquivix HQ
1-903, 18 Eonju-ro 146-gil,
Gangnam-gu, Seoul, Korea
06057

This weblog explains why not carefully choosing your TikTok pixel installation and event setup option could be a costly decision. Alright, it’s tempting to gravitate towards the easy way prebuilt and laid out. For some, installing it through Shopify is the best choice and you don’t have to define events yourself in the TikTok Event Manager. For many others, manually installing the pixel with a standard event setup method would be the go-to.
Both ways seem to completely solve your humble needs for tracking. Let’s now have a look at the benefits, uses, and steps to install the TikTok pixel.
What Is a Tik Tok Pixel?

The most typical online attribution product is the pixel. When users are encouraged to take online actions such as browning a webpage, filling out a form, or purchasing a product, the pixel should be employed. As users engage with the website, the pixel will automatically gather and send privacy-safe web page information.
TikTok Pixel Installation and Web Conversions – How Does It Work?
The pixel collects information available via standard web browsers, like chrome.

- Ad/ Event Information: Details about the ad that a TikTok user clicked or a triggered event.
- Timestamp: The time when the pixel event occurred. This is used to determine when actions on the website occurred, such as when a page was seen, when a product was purchased, and so on.
- IP Address: Used to determine the geographic location of an event.
- User-Agent: Used to find out about the device’s make, model, operating system, and browser.
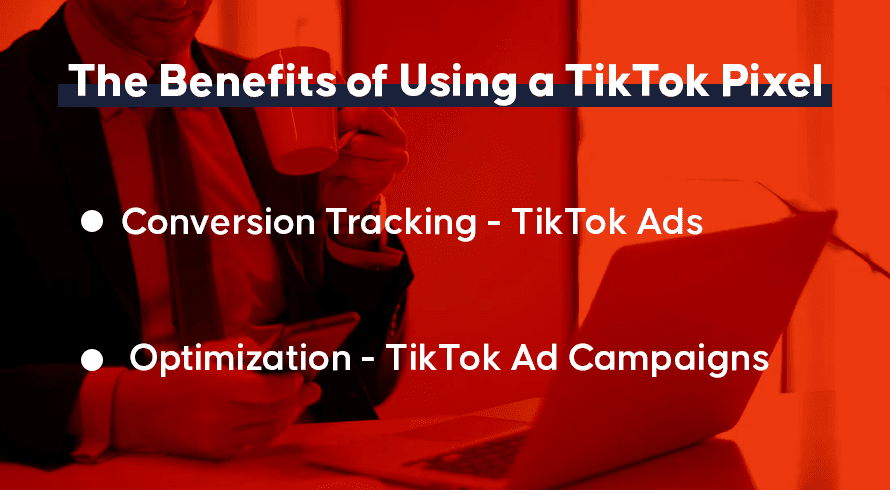
The Benefits of Using a Tik Tok Pixel
For commercial websites and businesses with an online presence, the TikTok pixel is critical. It could assist you in a variety of ways, including:

Conversion Tracking – Tik Tok Ads
If you install TikTok pixel on your website you will be able to trace client behavior on your website and advertisement. The new code will give you access to a wealth of data and information, including information about customers who interact with your content, fill out online contact forms, or make a purchase.
Optimization – TikTok Ad Campaigns
TikTok pixel is also a useful tool for boosting the effectiveness of corporate advertising initiatives. It can help you optimize your ad so that users do the required action on your website. The optimization aids in improving conversion rates and increasing traffic engagement.
How to Use Cookies with Pixels?
Cookies aid in marketing measurement, optimization, and targeting. When the first and third-party cookies are combined with Advanced matching performance is improved.
First and third-party cookies will be used by default in any TikTok pixels made after March 10, 2022. After April 28, 2022, all previously played pixels will have cookies enabled. Under events manager, you may configure cookies usage in your pixel settings. You have the following options:

- Use first and third-party cookies with TikTok pixel – You may improve and supplement the matching users on your website with persons on TikTok by using cookies with Advanced Matching.
- Use only third-party cookies with the TikTok pixel – Toggle first-party cookies usage off in your pixel settings if you don’t want your pixel to use first-party cookies and solely use third-party cookies. You will not be able to fully utilize your pixel’s matching and attribution capabilities if you choose this option.
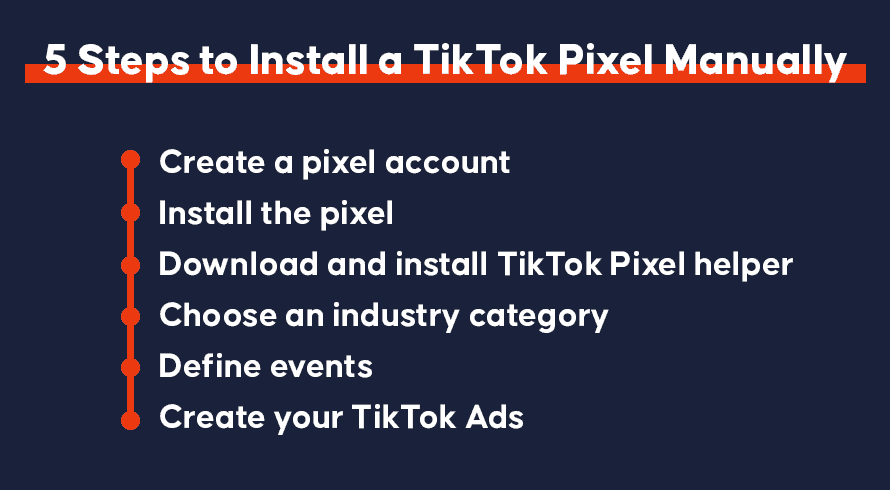
5 Steps to Install a Tik Tok Pixel Manually
Getting started with TikTok pixel takes just six simple steps:
- Create a pixel account
- Install the pixel
- Download and install TikTok Pixel helper
- Choose an industry category
- Define events
- Create your Tik Tok Ads

1. Creating Your Tik Tok Pixel
- Click “Library” on the page
- Click “Event” in the library tab
- Choose website pixel then tap on “Manage’
After this, you will be taken to the “Create Pixel” page, where you will click on the ‘Create Pixel” button. Then a pop-up named “pixel name” will appear. Enter the name, then repeat the process if you have multiple websites.

2. Installing the TikTok Pixel
You have two options for installing TikTok pixel: “Installing manually” or “Install using a 3rd party tool” such as Google tag manager.
To install manually means you as the website owner will input the codes yourself. Click on “manually install pixel code” then proceed with “next”
- Name your TikTok pixel.
- From there, directly click on the pixel code as shown below, or you may click on the download pixel code link.
- After you have copied the code, paste it on top of the header section on your website. The code you will need to paste will look something like this:
Then, check if the pixel has been added successfully by using the TikTok pixel helper plugin.

Download Tik Tok Pixel Installation Helper
TikTok pixel helper is a chrome extension that can help you verify and troubleshoot pixel installation by checking for errors and providing implementation recommendations for your website.
3. Choose an Industry Category
Here you can choose which industry suits your brand, as well as the business scenario that conforms to a series of events on a website. E-commerce events, consultation events, Apk download events, custom events, and form submission events are all examples of this sector. The website owner then gets to decide on which is the best for them.

4. Define Events
There is a series of default events after you choose a category except for custom events. You can choose to delete or add an event as shown above.
- Give a name to the events and put a value on the business, set currency, and the statistical method.
- You can also choose ‘Every Time’ or ‘Once’ for the statistical method.

After doing these click on complete, then you will be directed to where you can define the event rules.
- The first box designated as 1 (one) is a dialogue box where the URL to view the page is pasted. This is where you want to define rules, then click Update.
- The second (2) box is to ‘choose an event’ to define that is to name an event.
- The third (3) is where the ‘track button’ is pasted.
- The fourth (4) box will automatically load with the help of the TikTok Pixel Helper.
5. Creating Ads
- When it gets to this point for site owners, you’ll be led to “Create Ads” and “Choose a Pixel” just as shown above. At the other end, you’ll see “Pick an event” that has been created. Click done.
- When all these steps have been followed and successful, upon completion of the last level of these steps, the event(s) data would have been displayed on the “Event Manager” page.
- Under Pixel, the events as triggered would be shown in real-time and arranged chronologically. For carting especially, either the visitor stops at product page browsing or they proceed to add to the cart, then place an order. In that order, the performances would be shown to the site owner.

It is worthy to note that TikTokPixel stores only the singularity of the session, so anything short of that will not have its conversion stored on TikTok. So, TikTok as a plugin helps site owners to efficiently manage, study, and provide an improvement on their sites to ensure this is done with no stress.
Event Setup Modes
Selecting to install pixel code manually or through Google Tag Manager provides you with two options: Standard Mode or Developer Mode.
- Standard Mode: Create events with the events manager, then copy and paste the base code onto your website. Click events or URL events can be used to track website user behavior
- Developer Mode: Using code, create custom events. For example, if a visitor scrolls down at least 50% of the page, an event is triggered. Parameters like content id and value are supported in Developer Mode. On your website, both the base code and the custom event code must be installed.
How to Create Events? (Standard Mode)
After you create and install a pixel, click Next to reach the Create Events page. From here, you can create events using either tracking methods: URL keywords or web elements. Tracking methods assist you in creating and assigning rules to events such as ‘add to cart’ and ‘buy.’ There are two sorts of tracking mechanisms available for each event:

- Click Events: Count each time someone visits your website and clicks on a specific element as an event. This could be something as simple as putting something in a shopping basket, filling out a form, or downloading an app. The web elements of the buttons or URLs you want to track are used in click events.
- URL Events: Use events to track user visits to certain pages on your website. This could be a thank you page or a confirmation page following a transaction. The keywords in the URL of the page you want to track are used in URL events.
Creating URL Events
- From the Create Events page, click ‘+ Enter URL Keywords’ to get started
- Select the appropriate Event Type for this URL event
- Fill in the keywords from the URL of the page you want to track.
- Create more events by clicking ‘+ Enter URL Keywords’ or ‘+ Add Web Elements’
- When you’re done, review all your events and details under Events summary. Click ‘Complete Setup’ to finish.
Creating Click Events
- Input your website’s URL in the preview on the left side of the screen to sync your website with the event setup which mimics how your website will show up in the TikTok app
- Once connected, use the ‘selector’ mode to add web elements or the ‘navigation’ mode to move around your website
- Once your website is synced in the preview and on your mobile device, click on ‘+ Add Web Elements’ to get started
- Select web elements are highlighted in blue. Click to record an element as CSS selector code under ‘Select clicked element’
- Select the appropriate Event Type for this click event
- Under Advanced settings, you have the option to name this event and input a value/currency to measure ROAS (Return on ad spend).
- Create more events by clicking ‘+ Enter URL Keywords’ or ‘+ Add Web Elements’
- When you’re done, review all your events and details under the Events summary. Click ‘Complete Setup’ to finish.
3 Steps to Install a Tik Tok Pixel Using a Partner
There are options for installing the TikTok pixel. You can leverage one of TikTok’s partner integrations.

1. Creating Your Tik Tok Pixel
Name your pixel and select ‘Automatically Install Pixel Code via Partner Integration.
2. Choose Your TikTok Pixel Partner
Connect your site by selecting a partner.
- Google Tag Manager
- Shopify
- BigCommerce
- Ecwid
- PrestaShop
- Square
3. Install The Pixel By Connecting Both Accounts
Install the pixel by connecting your account to the partner account.
What Is the TikTok Pixel Bot?
TikTok Pixel detects and classifies terms on your public website in real-time to help you classify and contextualize your content. This data is used to better match your adverts to TikTok users who may be interested in your services or products. TikTok Pixel follows conventional robots.txt rules when crawling the web. The TikTok Pixel must be installed on your website for it to be scanned.

Conclusion
TikTok pixel is one of the most effective ways to increase money from your company’s website. It aids in the optimization of adverts, as well as tracking and increasing conversions. If you own a company website or application, you can try to make the most of Tik Tok new digital tool to increase your online visibility.
